Posted January 27, 2017 by Antonio Marku
MicroGroup Enhances Quality Inspection Processes with Installation of Second OGP Vision System
New System Allows for Greater Automation for Use on Both First Piece and Final Inspections
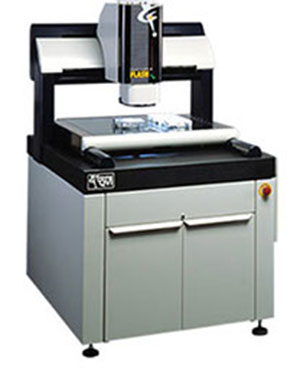
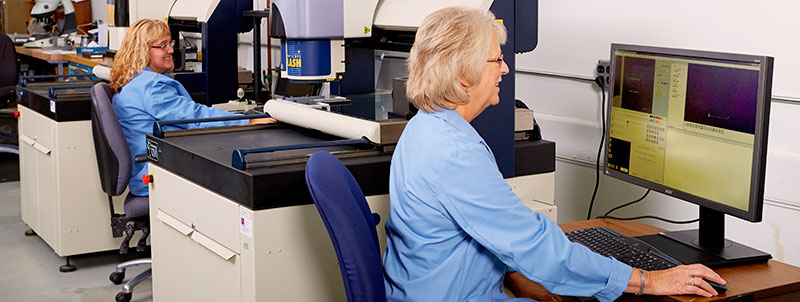
 MicroGroup has recently added a second SMARTSCOPE FLASH 500 to their quality department. The SMARTSCOPE FLASH 500 is a coordinate measurement machine thats capable of handling the numerous inspection jobs that are required throughout the normal business day.
The machine has an X and Y axis based software which allows for quick and accurate measurements. The machine uses a camera lens to look for differences in light and darkness to determine edges of a particular part. The lens also works to measure more than one point of the part therefore providing precision measurements.
The SMARTSCOPE FLASH 500 works in conjunction with our 3D printer. By utilizing the 3D printer, our quality department can quickly design and manufacture fixtures to hold parts in place for measurement by the SMARTSCOPE. The fixture allows measurement of multiple parts at the same time. The acquisition of a second SMARTSCOPE FLASH 500 has also allowed us to increase the number of parts that can be measured to keep pace with the growth of our customers.

“We are excited about this investment as it further leverages our earlier investments in automated vision inspection systems and 3D printing capabilities. This strengthens our ability to align our inspection methods with our customers with a goal of reducing the time and cost of inspecting parts for both organizations.”
– Bill Bergen, President & CEO, MicroGroup Inc.

